
I saw this line of trees as I was walking back to the church with my bride, Alli. In my mind, I saw the finished photo as being different than what I was actually seeing. It doesn’t usually happen this way – I only occassionally like to manipulate things in Photoshop. This one was kind of fun for me though. When I posted the image on Instagram, I had a lot of people commenting on the “location,” and I felt compelled to come clean that that location is actually well…not real. Then I thought maybe someone would want to know how I did it! So here is a quick tutorial I made up explaining how I flipped the image to copy the trees on the left side and put them on the right side to create a tunnel of trees, and hide that nasty fence! Here is the original image, opened in Photoshop:

The first thing I did was duplicate the layer. Right click on Background, and click on Duplicate Layer.

Then I flipped the image horizontally. Go to Edit > Transform > Flip Horizontal.

Now that your image is flipped, the fence should be on the left side of the photo. With the next step, create a mask on that layer. This will allow you to “paint” the trees over the fence. On your sidebar, click on the icon with a white circle inside a gray square. You will see a white box appear next to your Background Copy Layer. Press Cntrl + I to invert this layer, turning the white box into a black box. Your photo will now look like it did before, with the fence once again on the right side.

We can now take the Brush (Press B) and paint WHITE onto the black box. Make sure the click the black box before you start, so you are painting on the mask and not on the actual layer. As you brush, you will see in your little box what you are painting white – what you are asking to show through the mask. I painted just until I could see the bride starting to appear.

If you want to get a better idea of what is “painted” and what is not, hit the key with the \| icon (just above the enter key). The red is the untouched portion of the image.

I then took my Clone Stamp tool (Press ‘S’) to clean things up. Press ‘Alt’ and click to grab what you would like to clone, and then paint away. I cleaned up the trees, and the black tarp behind the trees. I also brightened the image just a tad and increased the contrast by 10.

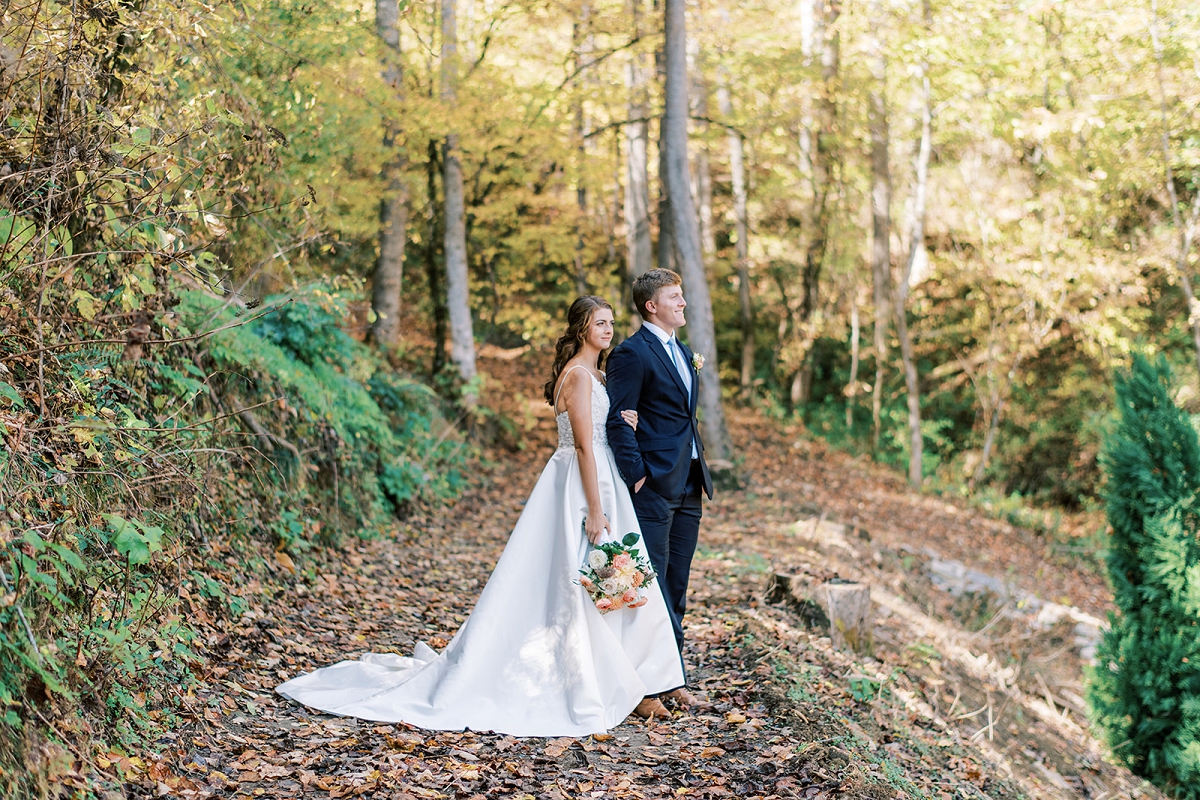
I was going to be done at this point, but Adam glanced at it and suggested I change the size of the tree on the right side so that it doesn’t look like I just copied it to the other side (he’s pickier than I am….). But I listened to him and Liquified it just a touch. To Liquify, go to Filter > Liquify. I made my brush size as large as it could go, and then just pushed the right side of the tree in a little bit, making it a bit more narrow. Then I pressed Ok!

So here is my final image!

Before: 
If you have questions, feel free to email me! I haven’t done many tutorials like this before, so forgive my awkwardly-worded instructions!!


")
")


")


add a comment
+ COMMENTS